14 September 2016
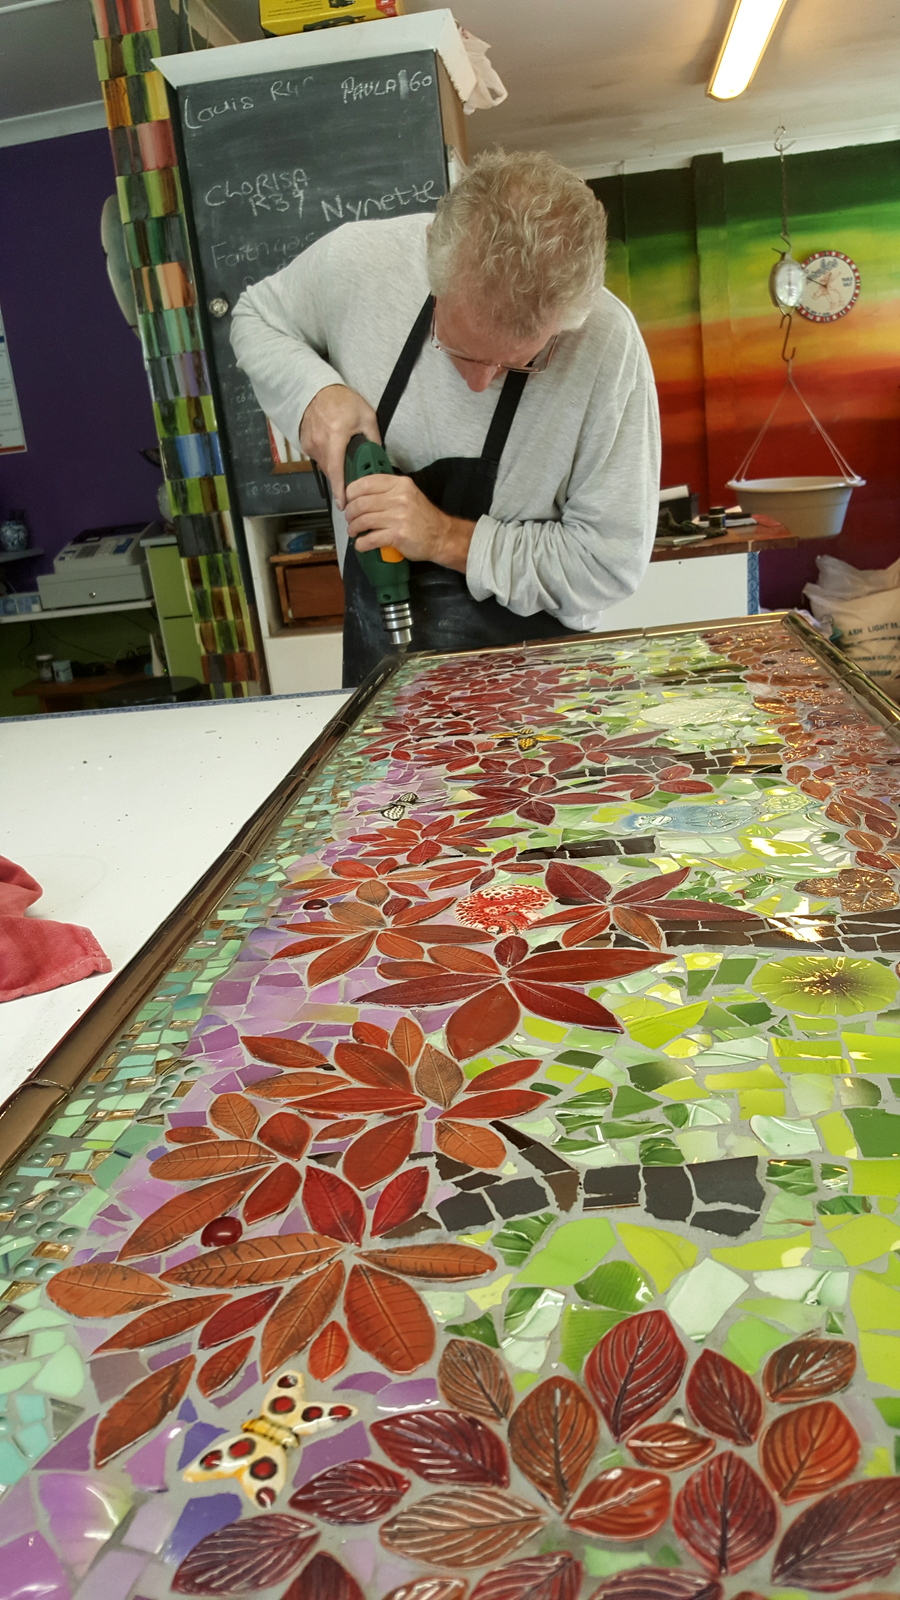
Red Orchard Mosaic
25 April 2015
Outdoor Garden Table
02 June 2014
Autumn Tree of life Mosaic
10 September 2012
How to Mosaic on Mesh
29 June 2012
How to Mosaic Using Ceramic Leaf shapes
Making the Leaf Mosaic Pieces
Here’s how I created the ceramic leaf inserts for the mosaic.
I began by rolling out a smooth, even slab of clay, about 6 mm thick. It’s important to keep the thickness uniform so the pieces dry evenly and don’t warp during firing.
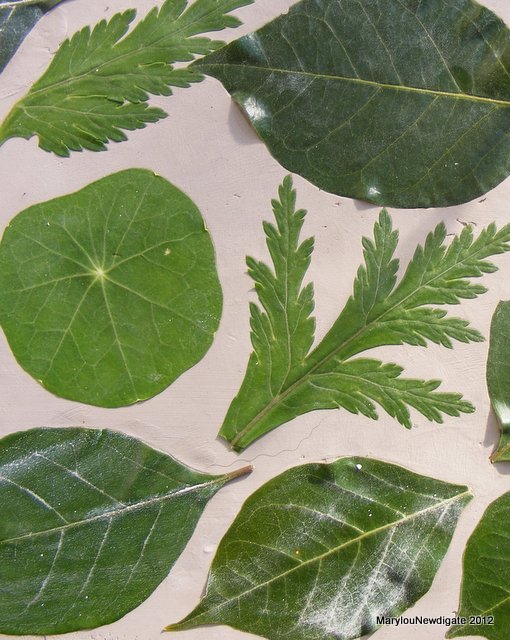
Next, I gently pressed fresh leaves into the clay surface to capture their natural texture and vein patterns. I experimented with a mix of foliage—wild geranium, nasturtium, bougainvillea, and cluster fig leaves—each one leaving its own distinctive print.
The variety of shapes and textures gives the finished mosaic a beautiful, organic look—almost like a patchwork of garden memories preserved in clay.
Now it’s time to let the pieces dry slowly and evenly. Avoid drying them too quickly, as that can cause warping or cracking. Patience really pays off here!
Once dry, the pieces will be fired twice—first for the bisque firing, then again after glazing. You can choose to apply color pigments or underglazes either before the first firing or later during the glazing stage, depending on the look you want to achieve. Each option creates its own unique finish and depth of color.
I love the “surfboard” shape of these leaf forms—elegant, slightly curved, and so easy to handle. They nestle together beautifully on the drying board, fitting neatly side by side, ready for their transformation in the kiln.
| Craig's Table |
| My tabletop in progress |
| Sally, my mosaic student, did well with her 2nd mosaic project. |
| One of my first leafy tabletops |
| mosaic seat in progress, with red leaves, a cat, and other bits and pieces |
| Green glazed leaves over a brown pigment in the veins of the leaf detail on the tabletop |
| An easy mosaic project, using leaf mosaic pieces in dove grey, blues, and mauve |
| 'mosaic lessons' and various mosaic things decorating the outside of the Knysna Pottery House |
| an owl and a hare with various odd leaf tiles that no one wanted |
| More chair seats using leftover leaf mosaic pieces |
| Sally, my mosaic student, is doing a fine job of an umbrella stand for her mother, who is the owner of one of my first leaf tabletops. So this umbrella stand will match it nicely. |
08 June 2012
Winter, mosaic artist in hibernation
I would like to start a new range of really small ceramic things- buttons, inserts, miniature art. The Knysna Pottery House is going full steam ahead, with many projects and commissions and a new pottery teacher on the team. I am temporarily without transport, so am stuck at home for a bit.
My grown up sons have left home, I still have my kiln and slab roller at home, all I need is some clay, Plaster of Paris for the moulds, and some enthusiasm. And of course a market to buy the new range.
I have been decorating ceramics- doing quite a lot of houses and landscapes on buildings, painted on large platters and I have enjoyed that for a while. I discovered I can do a good portrait as well. But who on earth would want a portrait of themselves on a tile or a plate- except the Queen of England maybe?
Recently a SA artist became famous overnight because he did an "artwork" depicting our president with his rude parts exposed. Oh- the hoo ha that created. Maybe I should do an artwork of Prez. Zuma and his multiple wives and children, grandchildren- - also shocking in some way- and get free publicity? Ha ha! No way- you have to be absolutely crazy to attract that kind of hate and negative media attention from all the verkrampte (conservatives) in this country. I am certain the artist got a few death threats. Please note- I have not named the artist or the artwork- as it deserves no more attention.
So here are a few of my ceramic plates.
| Noetzie beach, Knysna |
| Palm trees |
| Thesen House, Knysna |
| 2 large carved vases and a white mosaic mirror by Ruth |
| Some old houses in Knysna. |
04 April 2012
Coffee table with purpose made handmade tiles and glass mosaic tiles
| Step One- the galvanised metal base |
| Step 2: Cut the fibre cement board to size |
| Step 3: Attach fibre cement to metal base using a pop rivet gun |
| Glass has been glued over cut outs in sides and top. Then the handmade tiles were made especially. This corner had to be re-done as the original got accidentally broken |
| Went to the Tile House to buy glass mosaics tiles on special- R45 per sheet |
| Start arranging the glass tiles- play around with designs |
| I used clear silicone to attach the glass tiles to the glass sheet |
| Making progress, and thinking about grout colour |
| Drying. Tomorrow I will grout the table and add a photo of the final result on this blog post |